

Non-Fungible Tokens (NFTs) have taken the world by storm, powering digital art, collectibles, and even virtual real estate. Ever wondered how to create your own NFTs? This beginner-friendly tutorial shows you how to build an NFT smart contract on Ethereum using Solidity and the ERC-721 standard. We’ll walk through the code step-by-step, so anyone can follow along and mint their first NFT. Let’s dive into the world of digital ownership!

What Are NFTs and ERC-721?
NFTs are unique digital assets on a blockchain, like a one-of-a-kind trading card. Unlike regular tokens (e.g., ETH), each NFT has distinct properties, making it perfect for art, music, or game items. The ERC-721 standard is a set of rules for creating NFTs on Ethereum, ensuring they can be traded, owned, and verified.
Key features of ERC-721 NFTs include:
- Uniqueness: Each NFT has a unique ID and metadata (e.g., image URL).
- Ownership: Only one wallet can own an NFT at a time.
- Interoperability: Works with platforms like OpenSea or MetaMask.
Our smart contract will let users mint NFTs and store metadata, like an art collection.
Why Build an NFT Smart Contract?
NFTs are booming in 2025, with billions in trading volume. Building your own NFT contract lets you:
- Create Digital Assets: Launch your own art or collectible series.
- Learn Blockchain: Master Solidity and Ethereum development.
- Join the NFT Craze: Tap into a vibrant creator economy.
Our contract will teach you how to mint NFTs and manage ownership securely.
Tools You’ll Need
To build the NFT smart contract, gather these tools:
- Node.js: For JavaScript execution. Download from nodejs.org.
- Hardhat: For smart contract development. Install via
npm install --save-dev hardhat. - MetaMask: For testing on testnets. Get it at metamask.io.
- OpenZeppelin: For secure ERC-721 templates. Install with
npm install @openzeppelin/contracts.
These tools are beginner-friendly and standard for Ethereum development.
Step-by-Step: Building an NFT Smart Contract
We’ll create an ERC-721 smart contract for a digital art collection called “CryptoArt”. Users can mint NFTs, each with a unique ID and metadata (e.g., an image URL). The contract will track ownership and allow transfers. Let’s walk through the Solidity code!
Step 1: Set Up the Hardhat Project
Create a project directory and initialize Hardhat:
mkdir nft-contract
cd nft-contract
npx hardhat
npm install @openzeppelin/contracts
Choose the JavaScript project option. Hardhat sets up a development environment for Solidity.
Step 2: Write the NFT Smart Contract
Create a file named contracts/CryptoArt.sol. Here’s the Solidity code:
// SPDX-License-Identifier: MIT
pragma solidity ^0.8.0;

import "@openzeppelin/contracts/token/ERC721/ERC721.sol";
import "@openzeppelin/contracts/token/ERC721/extensions/ERC721URIStorage.sol";
import "@openzeppelin/contracts/utils/Counters.sol";
import "@openzeppelin/contracts/access/Ownable.sol";

contract CryptoArt is ERC721URIStorage, Ownable {
    using Counters for Counters.Counter;
    Counters.Counter private _tokenIds;

    constructor() ERC721("CryptoArt", "CART") Ownable(msg.sender) {}

    // Mint a new NFT
    function mintNFT(address recipient, string memory tokenURI) public onlyOwner returns (uint256) {
        _tokenIds.increment();
        uint256 newTokenId = _tokenIds.current();
        _mint(recipient, newTokenId);
        _setTokenURI(newTokenId, tokenURI);
        return newTokenId;
    }

    // Get the total number of NFTs minted
    function totalSupply() public view returns (uint256) {
        return _tokenIds.current();
    }
}
Code Walkthrough:
- Imports:
ERC721.sol: Base ERC-721 standard for NFTs.ERC721URIStorage.sol: Adds metadata storage (e.g., image URLs).Counters.sol: Manages incremental token IDs.Ownable.sol: Restricts minting to the contract owner.
- State Variables: A
_tokenIdscounter tracks the number of minted NFTs. - Constructor: Initializes the contract with the name “CryptoArt” and symbol “CART”.
- mintNFT Function:
- Increments the token ID.
- Mints a new NFT to the recipient’s address.
- Sets the token’s metadata (tokenURI, e.g., a JSON file with image and description).
- Restricted to the owner for control.
- totalSupply Function: Returns the total number of NFTs minted.
This contract is simple but supports core NFT features: minting, ownership, and metadata.
Step 3: Deploy the Contract
Create a deployment script in scripts/deploy.js:
const hre = require("hardhat");

async function main() {
    const CryptoArt = await hre.ethers.getContractFactory("CryptoArt");
    const cryptoArt = await CryptoArt.deploy();
    await cryptoArt.deployed();
    console.log("CryptoArt deployed to:", cryptoArt.target);
}

main().catch((error) => {
    console.error(error);
    process.exitCode = 1);
});
Configure hardhat.config.js for Sepolia (use an API key from Infura or Alchemy):
require("@nomicfoundation/hardhat-toolbox");

module.exports = {
    solidity: "0.8.0",
    networks: {
        sepolia: {
            url: "https://sepolia.infura.io/v3/YOUR_API_KEY",
            accounts: ["YOUR_PRIVATE_KEY"]
        }
    }
};
Deploy with npx hardhat run scripts/deploy.js --network sepolia. Note the contract address. The script deploys the “CryptoArt” contract, ready for minting NFTs.
Step 4: Mint an NFT
To test minting, create a script in scripts/mint.js:
const hre = require("hardhat");

async function main() {
    const [deployer] = await ethers.getSigners();
    const contractAddress = "YOUR_CONTRACT_ADDRESS"; // Replace with deployed address
    const CryptoArt = await hre.ethers.getContractFactory("CryptoArt");
    const cryptoArt = CryptoArt.attach(contractAddress);

    const tokenURI = "https://example.com/nft/1.json"; // Replace with real metadata URL
    const tx = await cryptoArt.mintNFT(deployer.address, tokenURI);
    await tx.wait();
    console.log("NFT minted to:", deployer.address);
    console.log("Total NFTs:", await cryptoArt.totalSupply());
}

main().catch((error) => {
    console.error(error);
    process.exitCode = 1);
});
Run with npx hardhat run scripts/mint.js --network sepolia. This mints an NFT to your wallet with a sample metadata URL. In practice, host metadata on IPFS or a server, like:
{
    "name": "CryptoArt #1",
    "description": "A unique digital artwork",
    "image": "https://example.com/art1.png"
}
Get test ETH from sepoliafaucet.com to cover gas fees.
Step 5: Test the Smart Contract
Create a test file in test/CryptoArt.js to verify the contract:
const { expect } = require("chai");
const { ethers } = require("hardhat");

describe("CryptoArt", function () {
    let cryptoArt, owner, user1;

    beforeEach(async function () {
        [owner, user1] = await ethers.getSigners();
        const CryptoArt = await ethers.getContractFactory("CryptoArt");
        cryptoArt = await CryptoArt.deploy();
        await cryptoArt.deployed();
    });

    it("should mint an NFT correctly", async function () {
        const tokenURI = "https://example.com/nft/1.json";
        await cryptoArt.mintNFT(owner.address, tokenURI);
        expect(await cryptoArt.ownerOf(1)).to.equal(owner.address);
        expect(await cryptoArt.tokenURI(1)).to.equal(tokenURI);
        expect(await cryptoArt.totalSupply()).to.equal(1);
    });

    it("should restrict minting to owner", async function () {
        const tokenURI = "https://example.com/nft/2.json";
        await expect(cryptoArt.connect(user1).mintNFT(user1.address, tokenURI)).to.be.revertedWith(
            "Ownable: caller is not the owner"
        );
    });
});
Run tests with npx hardhat test. The tests check:
- Minting assigns the NFT to the correct owner and sets the token URI.
- Only the contract owner can mint NFTs.
Test on Sepolia using MetaMask: mint an NFT, check ownership in MetaMask, and view metadata on a test marketplace like OpenSea Testnet.

Step 6: Secure the Contract
NFT contracts handle valuable assets, so security is key. Our contract includes:
- Ownable: Restricts minting to the owner, preventing unauthorized NFTs.
- OpenZeppelin Standards: Uses battle-tested ERC-721 code to avoid bugs.
- Simple Logic: Minimizes attack surfaces with straightforward functions.
Run a static analysis tool like Slither to catch issues:
pip install slither-analyzer
slither contracts/CryptoArt.sol
For production, hire a professional auditor to review the contract.
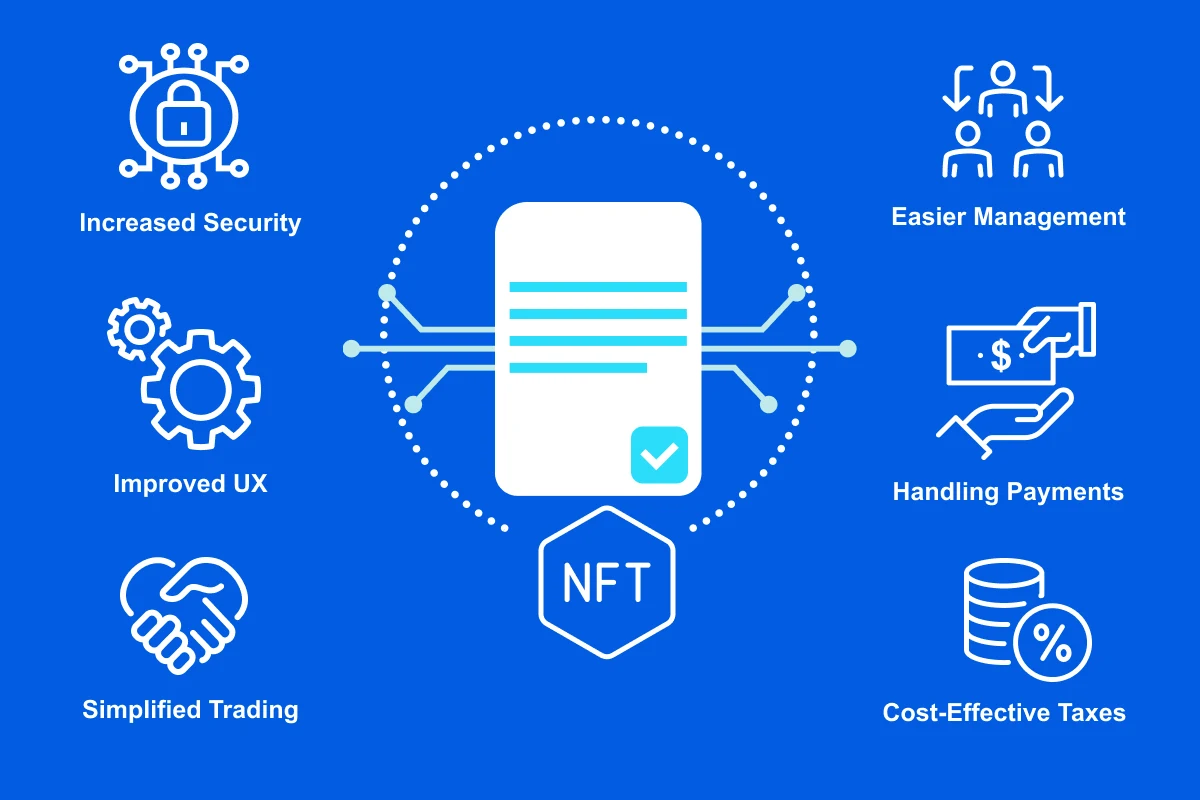
Benefits of Building NFT Contracts
Creating your own NFT contract offers:
- Creative Freedom: Launch unique digital assets like art or collectibles.
- Market Opportunity: Tap into the growing NFT economy.
- Technical Skills: Master Solidity and Ethereum development.
NFTs are a gateway to blockchain innovation in 2025.
Challenges of NFT Smart Contracts
Building NFT contracts has challenges:
- Security Risks: Bugs can lead to stolen NFTs, as seen in early marketplace exploits.
- Gas Costs: Minting and transfers consume Ethereum gas, which can be pricey.
- Metadata Storage: Hosting metadata reliably (e.g., on IPFS) requires planning.
Mitigate these with audits, gas optimization, and decentralized storage solutions.
Tips for Developers Building NFT Contracts
To create a robust NFT contract:
- Use OpenZeppelin: Leverage OpenZeppelin for secure, tested code.
- Audit Thoroughly: Run MythX or hire auditors.
- Optimize Gas: Batch minting to reduce costs (e.g., add a
mintBatchfunction). - Learn from Pros: Study contracts from BAYC or CryptoPunks.
These practices ensure your NFT contract is secure and efficient.
Resources for Learning More
Deepen your NFT knowledge with these resources:
- Ethereum Docs: NFT standards at ethereum.org.
- OpenZeppelin: ERC-721 guides at docs.openzeppelin.com.
- NFT Communities: Join discussions on Ethereum Stack Exchange or NFT forums.
Stay curious to master NFT development.
Conclusion
NFT smart contracts unlock the power of digital ownership, letting you create unique assets on Ethereum. By building an ERC-721 contract with Solidity, you’ve learned how to mint NFTs, manage metadata, and ensure security. Try adding features like royalties or batch minting, and share your NFT creations in the comments below!