Decentralized apps (DApps) are reshaping the digital world, running on blockchains like Ethereum to provide secure, transparent services without central control. From crypto exchanges to digital art platforms, DApps are everywhere. If you’re a developer eager to jump into blockchain, this beginner-friendly guide will walk you through building your first DApp—a simple task manager—using Solidity and React. Let’s dive in!

What Is a Decentralized App (DApp)?
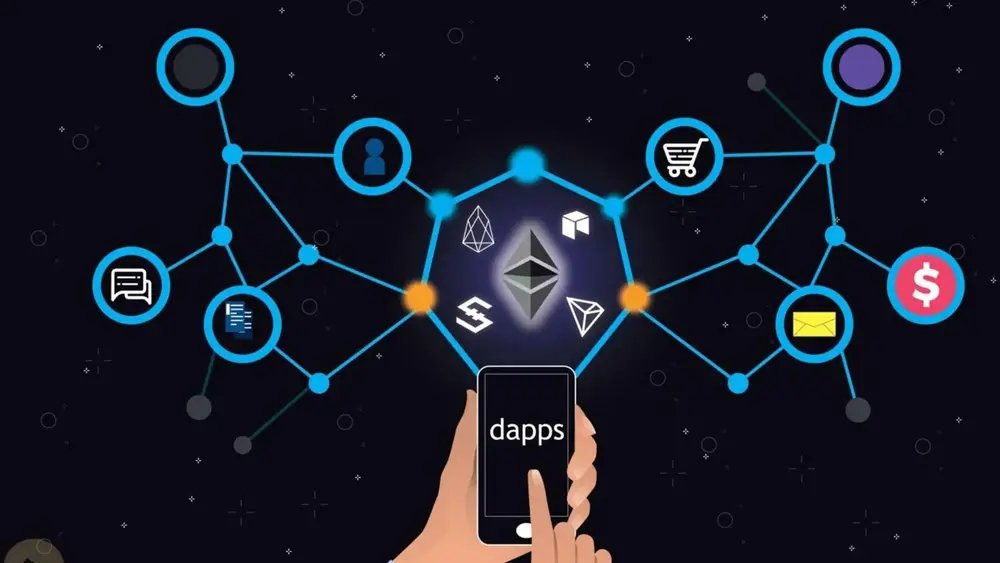
A DApp is an application that uses a blockchain for its backend logic, making it decentralized and trustless. It typically has two parts:
- Smart Contract: Code on the blockchain (written in Solidity) that handles data and logic.
- Front-End: A user interface (like a web app) that connects to the smart contract.
Our task manager DApp will let users add and view tasks, with all data stored securely on Ethereum.
Tools You’ll Need
Before coding, set up your development environment with these tools:
- Remix IDE: For writing and deploying Solidity contracts. Access it at remix.ethereum.org.
- MetaMask: A browser wallet for Ethereum testnets. Download from metamask.io.
- Node.js: For building a React front-end. Get it from nodejs.org.
- Hardhat: A tool for testing and deploying contracts. Install via npm.
- Ethers.js: A library to connect your front-end to Ethereum. Available via npm.
- Testnet ETH: Use the Sepolia testnet and get test ETH from sepoliafaucet.com.
These tools will help you build a complete DApp from scratch.
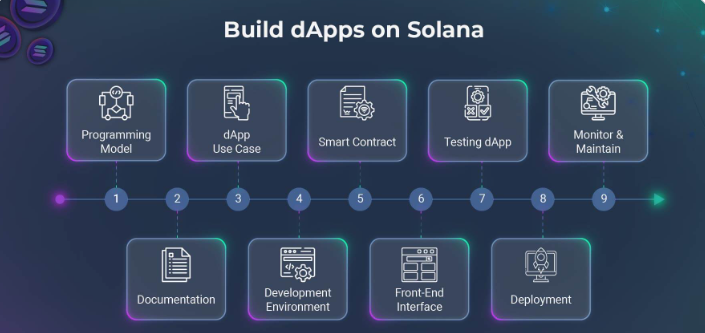
Step-by-Step: Building Your Task Manager DApp
We’ll create a DApp where users can add tasks and view a task list, all stored on the Ethereum blockchain. The backend will be a Solidity smart contract, and the front-end will be a React app. Follow these steps to make it happen!

Step 1: Write the Smart Contract
Open Remix IDE and create a file named TaskManager.sol. Here’s the Solidity code for the task manager contract:
// SPDX-License-Identifier: MIT
pragma solidity ^0.8.0;

contract TaskManager {
    struct Task {
        uint256 id;
        string description;
        bool completed;
    }

    Task[] public tasks;
    uint256 public taskCount;

    constructor() {
        taskCount = 0;
    }

    function addTask(string memory _description) public {
        tasks.push(Task(taskCount, _description, false));
        taskCount++;
    }

    function getTasks() public view returns (Task[] memory) {
        return tasks;
    }
}
This contract:
- Defines a
Taskstructure with an ID, description, and completion status. - Stores tasks in an array and tracks the task count.
- Allows users to add tasks and retrieve the task list.
Step 2: Compile and Deploy the Contract
In Remix, go to the “Solidity Compiler” tab, select version 0.8.0 or higher, and compile TaskManager.sol. Then, in the “Deploy & Run Transactions” tab, connect MetaMask to the Sepolia testnet and deploy the contract. Approve the transaction in MetaMask.
Copy the deployed contract’s address and ABI (from Remix’s “Compilation Details”) for use in the front-end.
Step 3: Set Up the React Front-End
Create a React app using Node.js. Run these commands in your terminal:
npx create-react-app task-manager-dapp
cd task-manager-dapp
npm install ethers
Replace src/App.js with this code to connect to your smart contract:
import { useState, useEffect } from 'react';
import { ethers } from 'ethers';
import './App.css';

const contractAddress = 'YOUR_CONTRACT_ADDRESS'; // From Remix
const contractABI = [/* YOUR_CONTRACT_ABI */]; // From Remix

function App() {
  const [provider, setProvider] = useState(null);
  const [contract, setContract] = useState(null);
  const [tasks, setTasks] = useState([]);
  const [description, setDescription] = useState('');

  useEffect(() => {
    const init = async () => {
      if (window.ethereum) {
        const provider = new ethers.BrowserProvider(window.ethereum);
        await provider.send('eth_requestAccounts', []);
        setProvider(provider);
        const signer = await provider.getSigner();
        const contract = new ethers.Contract(contractAddress, contractABI, signer);
        setContract(contract);
        fetchTasks(contract);
      }
    };
    init();
  }, []);

  const fetchTasks = async (contract) => {
    const tasks = await contract.getTasks();
    setTasks(tasks.map(task => ({
      id: Number(task.id),
      description: task.description,
      completed: task.completed
    })));
  };

  const addTask = async () => {
    if (!contract || !description) return;
    await contract.addTask(description);
    setDescription('');
    fetchTasks(contract);
  };

  return (
    Task Manager DApp setDescription(e.target.value)}
      />
      Add TaskTasks
        {tasks.map(task => (
          {task.description} {task.completed ? '(Completed)' : ''}
        ))}

  );
}

export default App;
Update contractAddress and contractABI with your contract’s details. This code connects to MetaMask, lets users add tasks, and displays the task list.
Step 4: Style the Front-End
Add basic styling in src/App.css:
.App {
  text-align: center;
  padding: 50px;
  font-family: Arial, sans-serif;
}

input {
  padding: 10px;
  margin: 10px;
  width: 200px;
}

button {
  padding: 10px 20px;
  margin: 5px;
  cursor: pointer;
  background-color: #007bff;
  color: white;
  border: none;
  border-radius: 5px;
}

button:hover {
  background-color: #0056b3;
}

ul {
  list-style: none;
  padding: 0;
}

li {
  margin: 10px 0;
}
This creates a clean, intuitive interface for your DApp.

Step 5: Test Your DApp
Run your React app with npm start. Open it in a browser with MetaMask installed and connected to the Sepolia testnet. Enter a task description, click “Add Task,” and watch the task list update. Your DApp is now live, storing tasks on Ethereum!
Why Build DApps?
Creating DApps is exciting and rewarding because they:
- Empower Users: No central authority controls the app, giving users trust and transparency.
- Drive Innovation: Build solutions for finance, gaming, or social platforms, like Aave or Decentraland.
- Boost Careers: Blockchain developers are in high demand, with opportunities in startups and tech giants.
Your task manager DApp is a stepping stone to these possibilities.
Tips for Improving Your DApp
To make your DApp even better, try these tips:
- Optimize Gas Costs: Use mappings instead of arrays for large datasets to save gas.
- Add Security: Implement access controls (e.g., OpenZeppelin’s
Ownable) and audit your code. Check SWC Registry for vulnerabilities. - Test Thoroughly: Use Hardhat to run automated tests and simulate edge cases.
- Enhance UX: Add loading indicators and error messages to improve the front-end experience.
These practices will make your DApp more efficient and user-friendly.
Next Steps for DApp Developers
You’ve built your first DApp—great job! Here’s how to keep growing:
- Expand Features: Add the ability to mark tasks as completed or delete tasks.
- Explore Tools: Use Alchemy or Infura for reliable blockchain connections.
- Learn More Solidity: Study advanced topics like events and inheritance at docs.soliditylang.org.
- Join Communities: Engage with developers on Ethereum Stack Exchange or Ethereum’s Discord.
Keep experimenting to create cutting-edge decentralized apps.
Conclusion
Building your first decentralized app on Ethereum is an exciting introduction to blockchain development. With a Solidity smart contract and a React front-end, you’ve created a task manager that runs on the Sepolia testnet. This guide is just the start—DApps open up a world of possibilities for innovation.
Try enhancing your DApp, exploring Ethereum tools, or sharing your project with the community. Have questions or ideas? Drop a comment below!


